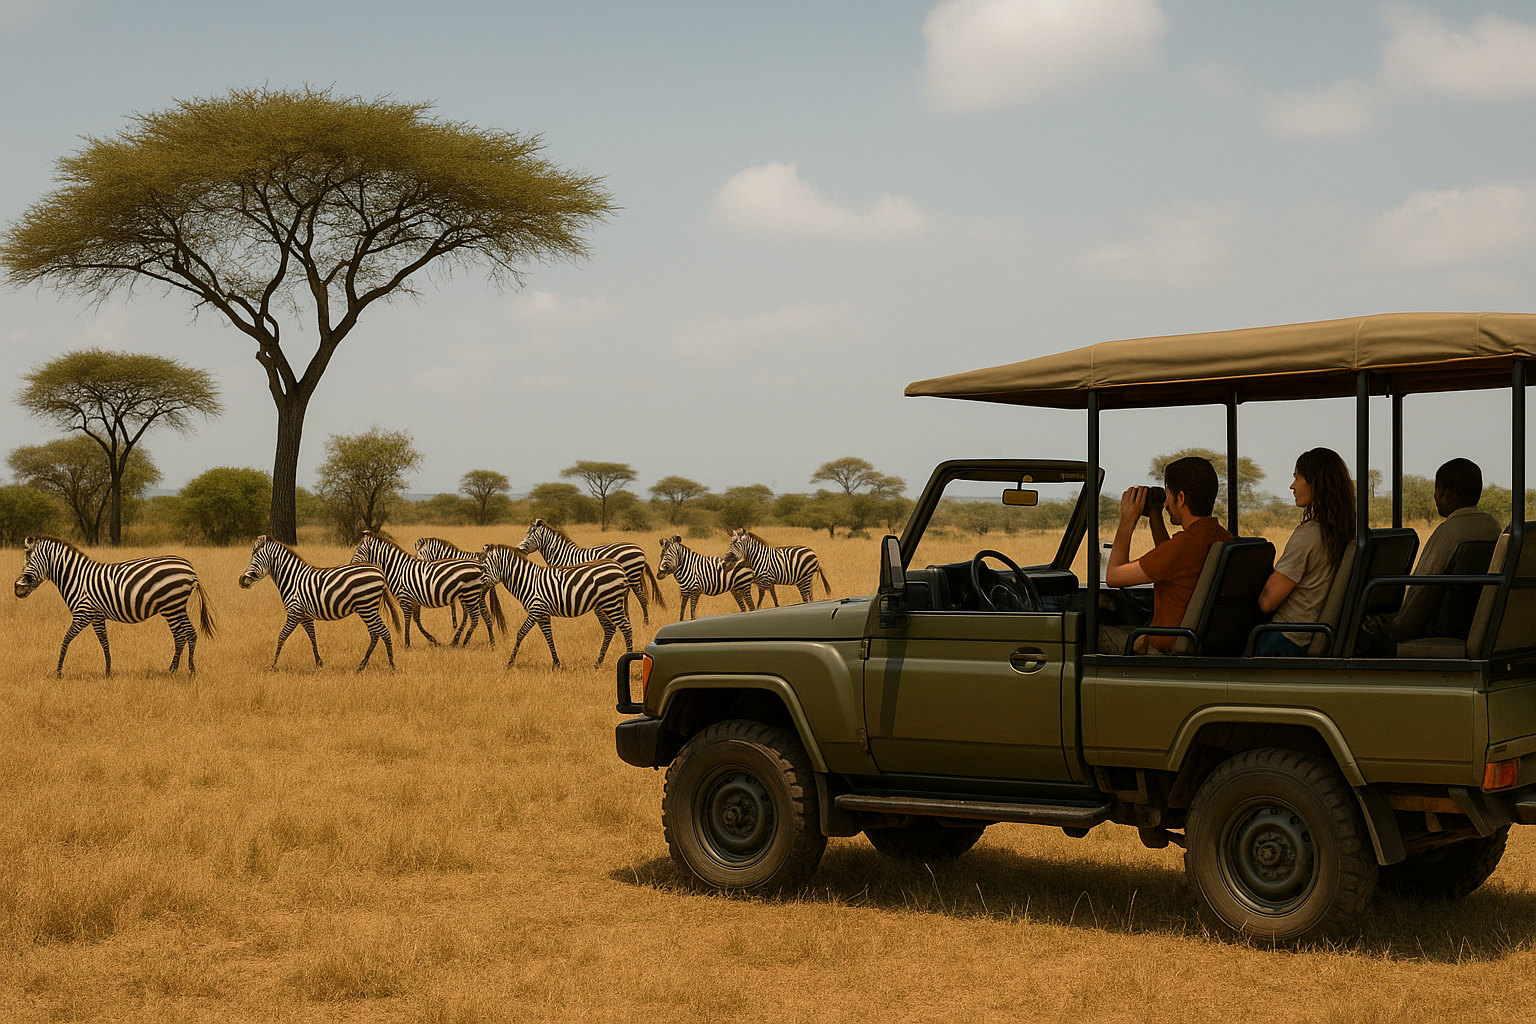
There is nothing quite like capturing a perfect wildlife photograph on safari: a lion’s intense gaze, an elephant’s majestic silhouette or a leopard frozen in motion. Safari photography combines technical skill, artistic vision and patience. This guide will help you return from your South African safari with images that tell the story of your adventure.
Most useful lens
70-300mm or 100-400mm telephoto zoom
Safe starting shutter speed
1/500s for still animals, 1/1000s+ for action
Golden rule
Focus on the eyes and stay ready for behavior
Essential Equipment for Safari Photography
1. Camera Body
Features That Improve Your Success Rate
- Fast autofocus: Important for tracking moving animals.
- High ISO performance: Useful during early morning and evening drives.
- Fast burst mode: Aim for 5 fps or more for action.
- Weather sealing: Helps protect against African dust.
- Articulating screen: Helpful when composing lower-angle images.
Examples by Level
- Professional: Canon EOS R5 / R6, Nikon Z8 / Z9 or Sony A1 / A7R V.
- Enthusiast: Canon EOS 90D, Nikon D7500, Sony A6600 or Fujifilm X-T4.
- Budget-friendly: Canon EOS Rebel T8i / 850D, Nikon D5600 or a capable smartphone.
2. Lenses
Your Most Important Investment
Your primary safari lens should be a telephoto zoom, ideally in the 70-300mm or 100-400mm range.
- Budget: Canon EF 75-300mm or Nikon 70-300mm.
- Mid-range: Tamron or Sigma 100-400mm.
- Professional: Canon RF 100-500mm or Sony 200-600mm.
Pro tip: A 70-300mm lens on a crop sensor camera provides additional effective reach, which is especially helpful on safari.
Bring a Second Lens
A 24-70mm or 16-35mm wide-angle lens helps you photograph savanna landscapes, animals in their habitat, your lodge and starry skies.
3. Accessories
Do Not Leave Without These
- Extra batteries: Pack at least 3 – 4 charged batteries.
- Memory cards: Carry multiple fast 64GB or 128GB cards.
- Bean bag: Often more practical than a tripod in a safari vehicle.
- Lens cloth and blower: Clean dust from your gear daily.
- Rain cover: Protect equipment during sudden storms.
- Polarizing filter: Reduce glare and enrich sky detail.
- Backup device: Keep a phone or second camera ready.
Camera Settings for Safari Photography
Use manual mode or aperture priority when possible so that you can respond quickly to changing light and animal movement. Full auto can work, but it may produce inconsistent results when conditions change rapidly.
Early Morning
Low-Light Game Drives
Aperturef/5.6 – f/8
Shutter Speed1/500s minimum, 1/1000s for birds
ISO800 – 3200
Focus ModeContinuous AF / AI Servo / AF-C
The golden hour after sunrise offers soft, flattering wildlife light.
Midday
Harsh Light and Action
Aperturef/8 – f/11
Shutter Speed1/1000s – 1/2000s
ISO200 – 400
White BalanceCloudy or Shade for warmer tones
Midday light is challenging, but can still work well for behavior and action images.
Evening
Golden Hour Drives
Aperturef/4 – f/6.3
Shutter Speed1/500s – 1/1000s
ISO400 – 1600 as light fades
Exposure+0.3 to +1.0 for backlit subjects
The hour before sunset creates warm tones, long shadows and beautiful silhouettes.
Movement
Predator Hunts and Running Animals
ModeShutter priority
Shutter Speed1/2000s or faster
ISOAuto ISO
Drive ModeMaximum burst speed
Technique: Pan smoothly with the animal and continue the motion after pressing the shutter.
Photographing Each of the Big 5
Each Big 5 species creates different photographic opportunities, from close portraits and family interactions to dramatic action and environmental storytelling.
1
African Lion: The Iconic Predator
Best Opportunities
- Early morning when lions may be active.
- Late afternoon as prides wake from rest.
- Golden hour for warm, dramatic portraits.
Settings and Tips
- Portraits: f/5.6, 1/500s, focusing on the eyes.
- Action: f/8, 1/2000s or faster with continuous shooting.
- Watch for yawning, playing cubs and pride interactions.
- A lower angle can emphasize a lion’s power.
2
African Elephant: Gentle Giants
Best Opportunities
- Waterholes during drinking, bathing or mud-spraying.
- Family herds with young calves.
- Backlit dust scenes and bulls with prominent tusks.
Settings and Tips
- Portraits: f/8 – f/11 for face detail.
- Herds: f/11 – f/16 with a wider perspective.
- Movement: 1/1000s for spraying water or dust.
- Include habitat to communicate their scale.
3
Leopard: The Elusive Cat
Best Opportunities
- Early mornings and dusk when leopards are active.
- Resting in trees for classic compositions.
- Walking through roads or dry riverbeds.
Settings and Tips
- General: f/5.6 – f/8, 1/500s – 1/1000s.
- Action: 1/2000s or faster with tracking focus.
- Watch exposure in dappled shade.
- Be ready quickly because leopards may disappear in seconds.
4
African Buffalo: Dagga Boys and Herds
Best Opportunities
- Large herds gathered at waterholes.
- Older males with weathered faces and heavy horns.
- Oxpeckers, mud and wet textures for added character.
Settings and Tips
- Portraits: f/8, 1/500s, focusing on eyes and horns.
- Herds: f/11 – f/16 for greater depth.
- Lower angles and close framing create an imposing portrait.
5
Rhinoceros: Ancient Armor
Best Opportunities
- Mothers with calves and mud-bathing scenes.
- Profile views that showcase the horn.
- Backlit dust or early morning mist.
Settings and Tips
- Standard: f/8 – f/11, 1/500s or faster.
- Action: 1/1000s or faster.
- Use side light to emphasize folds and mud texture.
- Include oxpeckers or calves for added scale and story.
Composition Techniques for Safari Photography
Rule of Thirds
Place an animal away from the center of the frame, ideally leaving space in the direction it is looking or moving.
Fill the Frame or Show the Habitat
Close portraits reveal eyes, texture and emotion, while wider compositions show an animal’s place in the landscape.
Eye-Level Perspective
Shooting closer to your subject’s eye level creates more engaging images. A bean bag can help support lower vehicle-window angles.
Leading Lines
Roads, riverbeds and trails can guide the viewer’s eye through the frame toward your wildlife subject.
Negative Space
A single animal framed against open savanna or a dramatic sky can create a powerful sense of scale and atmosphere.
Common Safari Photography Mistakes and How to Avoid Them
Shutter Speed Too Slow
Use at least 1/500s for still animals and 1/1000s or faster for movement to reduce blur.
Shooting in Poor Light
Increase ISO when needed, open the aperture wider or wait for light to improve rather than losing the moment.
Missing Sharp Eyes
Focus on the nearest visible eye. An otherwise excellent portrait can feel unsuccessful when the eyes are soft.
Only Capturing Trophy Shots
Photograph behavior, interactions, habitat and small details instead of collecting only standard close portraits.
Checking the Screen Too Often
Check exposure occasionally, but keep watching your subject so you do not miss sudden behavior.
Advanced Techniques for Standout Images
Intentional Motion Blur
Use slower shutter speeds such as 1/30s – 1/125s while panning with a moving animal to convey speed and energy.
Silhouettes at Sunset
Expose for a bright sunset sky to turn distinctive wildlife shapes, such as giraffes or elephants, into dramatic silhouettes.
Behavior Over Beauty
A photograph of rare behavior can tell a far stronger story than a flawless but predictable portrait.
Creative Depth of Field
Use a wide aperture to isolate an animal, or a narrower aperture to show it sharply within its environment.
Post-Processing Tips for Safari Images
Thoughtful editing can improve strong safari photographs while keeping the scene natural and believable.
- Crop and straighten: Refine composition and remove distractions from the edges.
- Adjust exposure: Correct overall brightness without pushing the image too far.
- Recover highlights and shadows: Bring back detail in bright skies and darker animals.
- Set whites and blacks: Give the photograph clean contrast and depth.
- Add subtle vibrance: Improve color while keeping tones realistic.
- Apply clarity and sharpening: Reveal detail carefully, especially in fur, feathers and eyes.
- Reduce noise: Clean up photographs taken at higher ISO settings.
Remember: Edit to enhance the moment, not to create a false wildlife scene.
Safari Photography Etiquette and Ethics
Great safari photography should never come at the expense of wildlife, habitat or other guests’ experiences.
- Do not request off-road driving where it is not permitted, as it damages ecosystems.
- Respect viewing distances and never pressure animals for a closer photograph.
- Do not call, whistle at or provoke wildlife for a reaction.
- Turn off flash around wildlife, particularly during night viewing.
- Remain seated and quiet when instructed by your guide.
- Share sightings and viewing opportunities with other guests.
- Accept slow sightings as part of an authentic natural experience.
Beyond the Big 5
Some of the most memorable safari photographs come from the wildlife, landscapes and moments that are often overlooked.
Birdlife
Lilac-breasted rollers, fish eagles and hornbills add color and variety to your photography portfolio.
Smaller Predators
Cheetahs, wild dogs, hyenas and jackals frequently provide dynamic behavior and action opportunities.
Patterns and Movement
Zebra stripes, giraffe patterns and graceful antelope can create beautiful compositions.
Hippos and Waterholes
Yawning hippos, reflections and interaction around water provide rewarding images.
Landscapes and Skies
Sunrise, sunset, storms and stars help tell the broader story of your safari destination.
Camp Life
Document drives, lodge moments and details that preserve the full memory of your journey.
Final Thoughts: The Magic Moment
The greatest safari photographs result from a combination of preparation, observation and luck. Technical skill helps you respond quickly, but patience and attention to animal behavior often lead to the most meaningful images.
Balance photography with experience. Take time to watch the wildlife without looking through a viewfinder, because understanding each moment will help you capture stronger photographs when the opportunity appears.
The best camera is the one you have with you. Whether you use a professional camera or a smartphone, focus on capturing emotion, behavior and memories that reflect your safari story.
Ready to Practice Your Safari Photography Skills?
Join us on a South African safari with unforgettable opportunities to photograph the Big 5 and capture your own wildlife images.
Book Your Photography Safari
→